| I made my first element for a kiln in 1965 and at that point I was old enough to vote. Since then I have made thousands of elements, from tiny things to great big and complicated units. Every day brings me new projects from the world at large. For most of my life I only dealt with glassmakers (which is also what I am). Please visit my web site at www.joppaglass.com. I have built a lot of equipment which is also what I do for a living so my comments on this project come with experience. | |
| My first thoughts and concerns are for safety, safety for you, my customers, and for your friends and families who might be casually assembled around this kiln while you are experimenting with heating something up. Some folks want to heat silver and gold, some just heat up some brass or aluminum. One guy wanted to heat iron (good luck with that). And of course others want to burn out wax for casting and others want to fire ceramics. That's great! But the back of this kiln is a death trap! It has bare electrical wires just sticking out and the author of the page simply says "Safety Tip:....do not touch the element wires when the kiln is on." |
|
| Here is what I am talking about: | 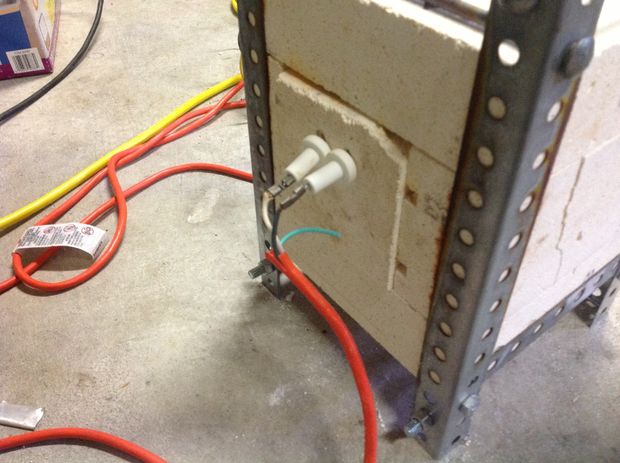 |
| The author says, "Cut an outdoor electrical cord (10 amp) down to three feet and keep the plug end. You don't want it too long." | |
| This is a big problem in itself: the author has recommended installing a fourteen amp element and he is going to power it up using a ten amp plug and power cord. There is a concept of the 85% rule in electricity: if you are using a ten amp cord you should actually only put a maximum of power through it of 8.5 amps. This is to assure the cord will not overheat and burn your house down. But certainly you should not put fourteen amps through a ten amp cord as that is really asking for trouble. | |
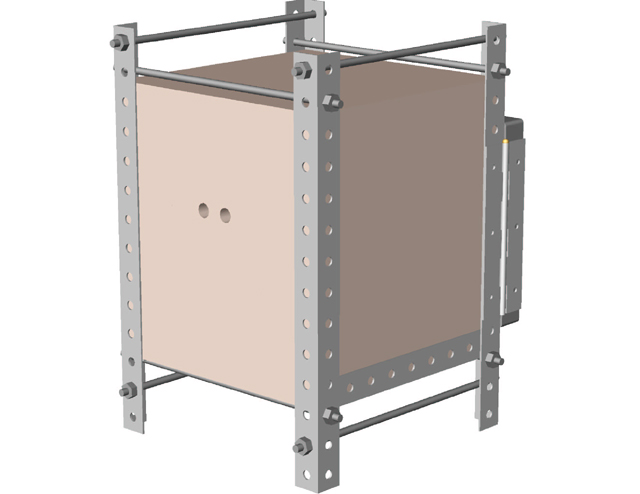
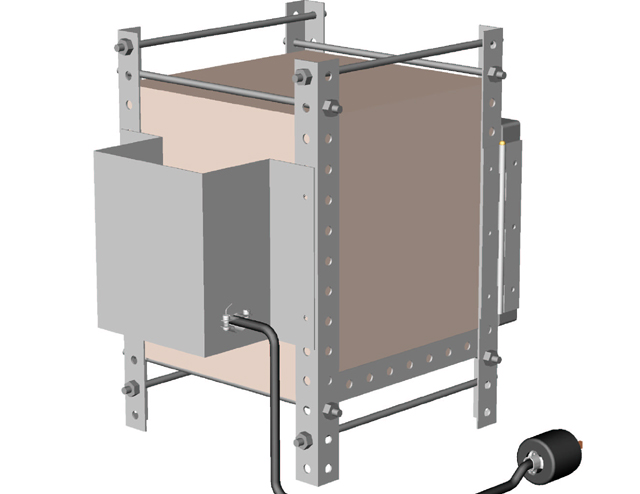
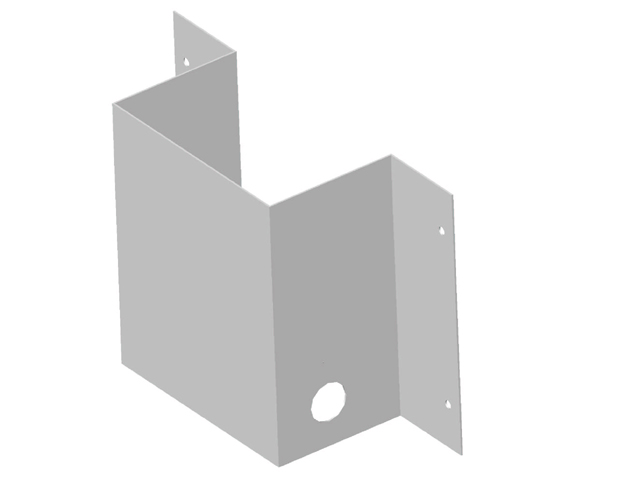
| The solution to this is simple and I have made several images to illustrate a correct way to wire this so it is 100% safe. I emphasize the following information to all my customers as I have a vested interest in your safety. This approach is inexpensive and reliable and will end up giving you a happy kiln which is electrically safe for you and your friends to be around. | |